Springs, Strings, and 3d Printed Things
2016-11-15
These past few weeks have been spent on my Stanford 250a project. In particular, I was experimenting with the various ways I could build the rectrable string interface, by far the most challenging aspect of this project by my estimates!
Displayed below are pictures in mostly chronological order, documenting my progress thus far.
Fit tests

My adventures with 3d printing began with making fit tests for my Griffin knob. I wanted to be able to have a snug fit for the Griffin, hence the trial and error. As it turns out, measurements for this were fractions of a millimeter. The progress for the fit tests can be seen right to left:
- The first chip printed had an inner hole 6mm in diameter, a measurement I got from the digital calipers in the max lab. This turned out to be too small in practice.
- The second chip printed had the hole bumped up to 7mm. This proved to be far too loose.
- The third chip had an inner diameter of 6.5mm. Still too large...
- The winning diameter ended up being 6.25mm, which provided a very tight and snug fit.
- The final chip had the thickness increased from 2mm to 4mm. This made it much easier to pop off the encoder
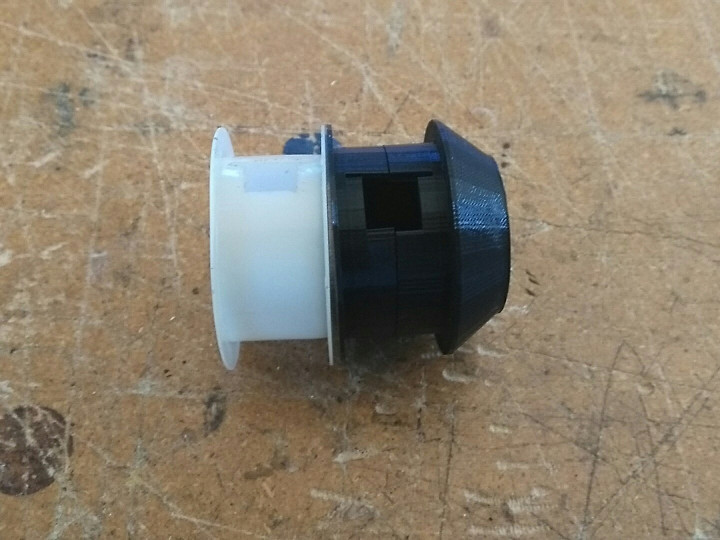
3d-printing the Spool

The next step involved 3d-printing a duplicate of the spool. My very first attempt at printing this was a naive failure; I tried to print the spool in one go. Following the advice of Nando, my next iteration involved printing two parts which could snap together. This is displayed above.
You will notice that the slot of the 3d-printed spool is flipped the wrong way. Later, I would also discover that the spool is also too small.
Uncoiling the Spring
Despite the mistakes I made with the initial spool, I went ahead and started transferring the flat spring to it. This meant uncoiling the spring, as seen in the picture above. Once uncoiled, the spring had to be wound up again and placed inside the new spool. This turned out to be a very tedious operation. I did it enough times to have a system made for it, involving the vice and a set of needlenose pliers.
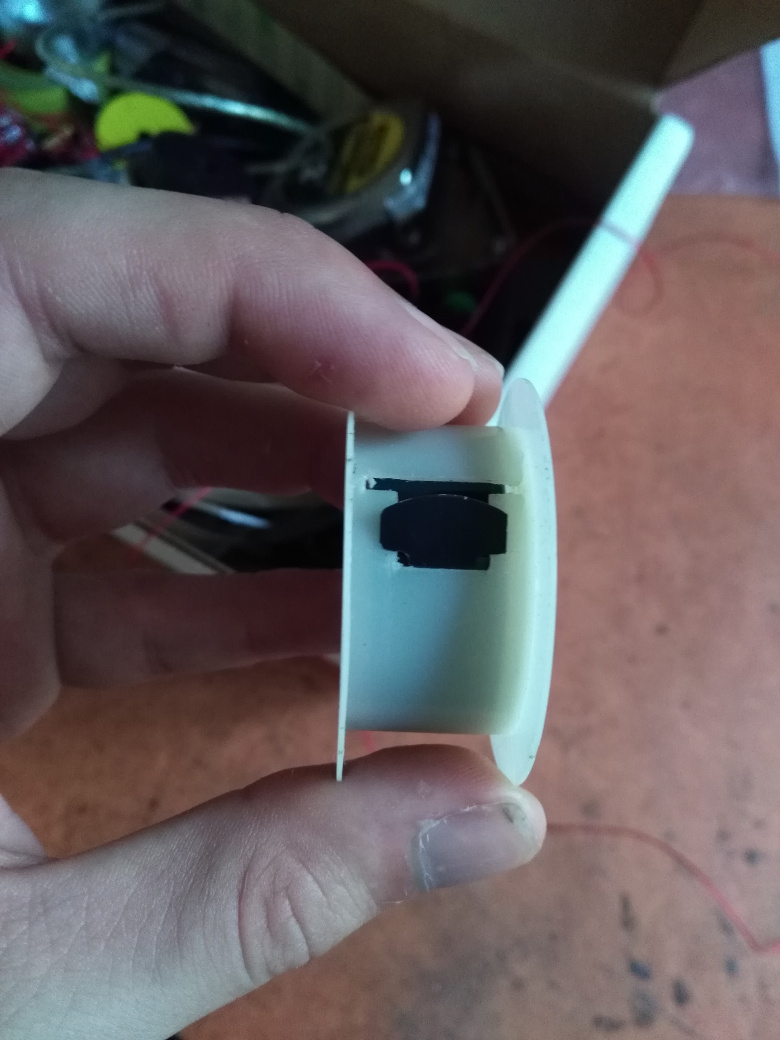
See this picture above? It turns out that the tab needs to be facing the other way in order for it to work with the tape measure. Uncoil. Again.
Vice Test

After the coil was placed in the spring, I began trying to action seeing if the coiling mechanisms could still work in the new spool using the vice. It worked! Later on, I would go back and print a larger spool which made it work a lot smoother.
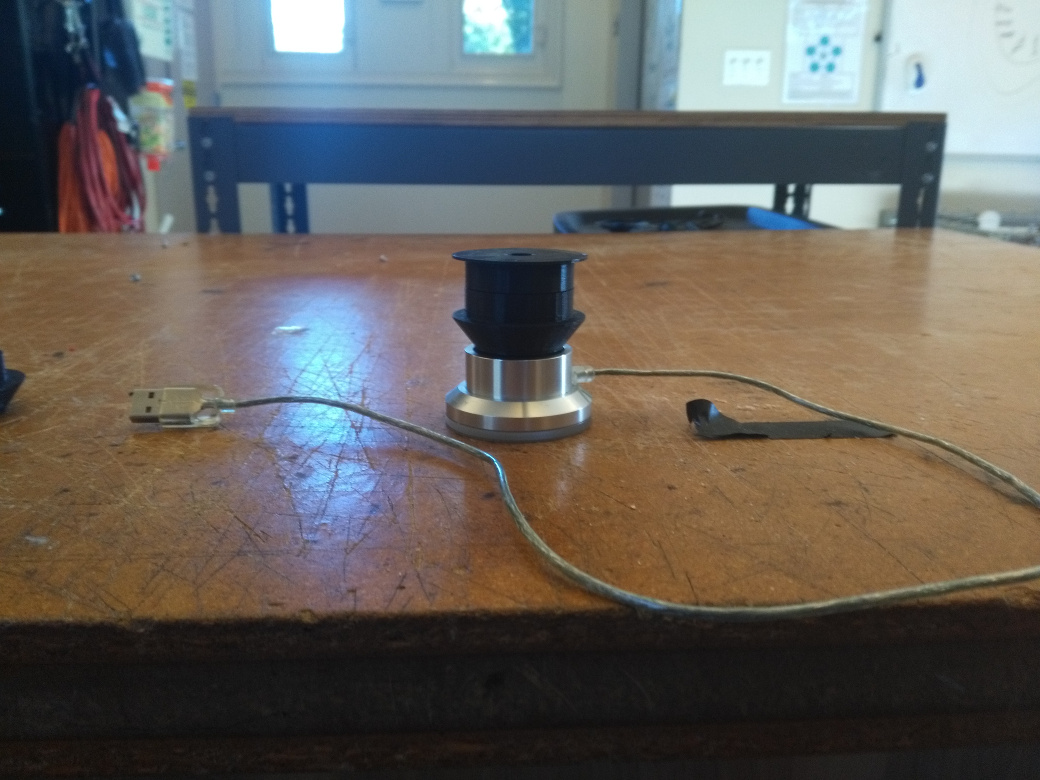
Frankensteining the components
With the fit tests created and the spool created, the next course of action involved printing what I actually needed: a hybrid of both. The initial frakenstein creation can be seen above. You will notice that I attempted to correct the flipped slot issues, only to have it be misaligned still. The diameter was still also the wrong size.
Both of these issues (and more!) were fixed in the next iteration, displayed below:
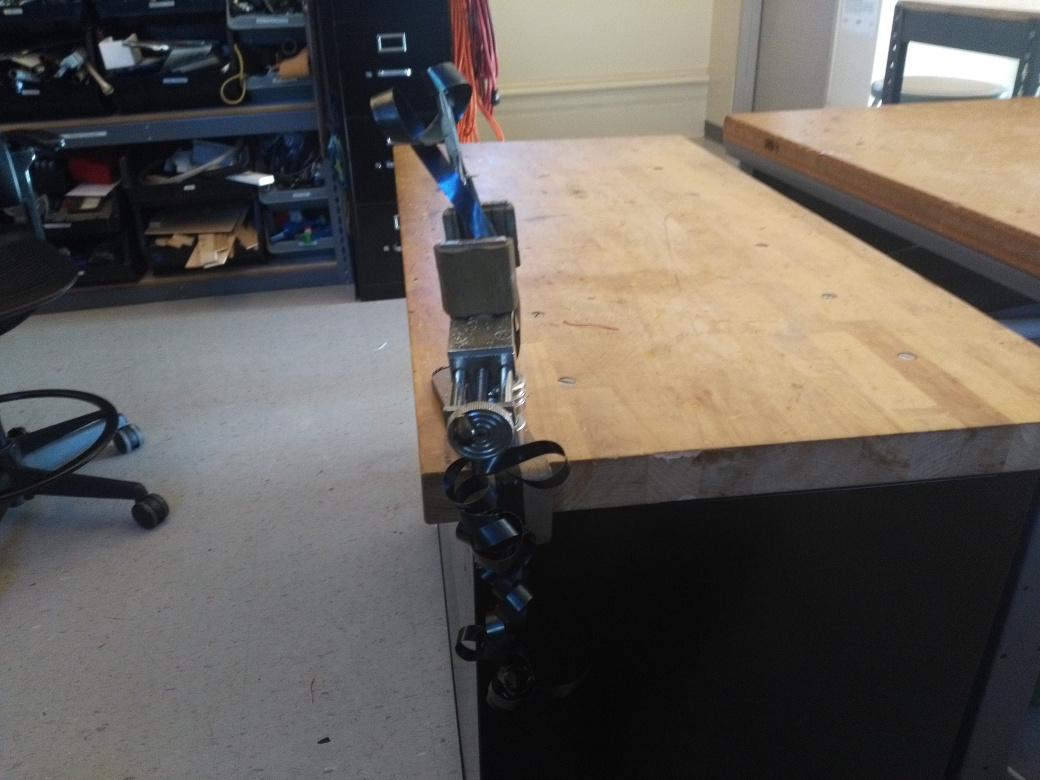
A loose layout
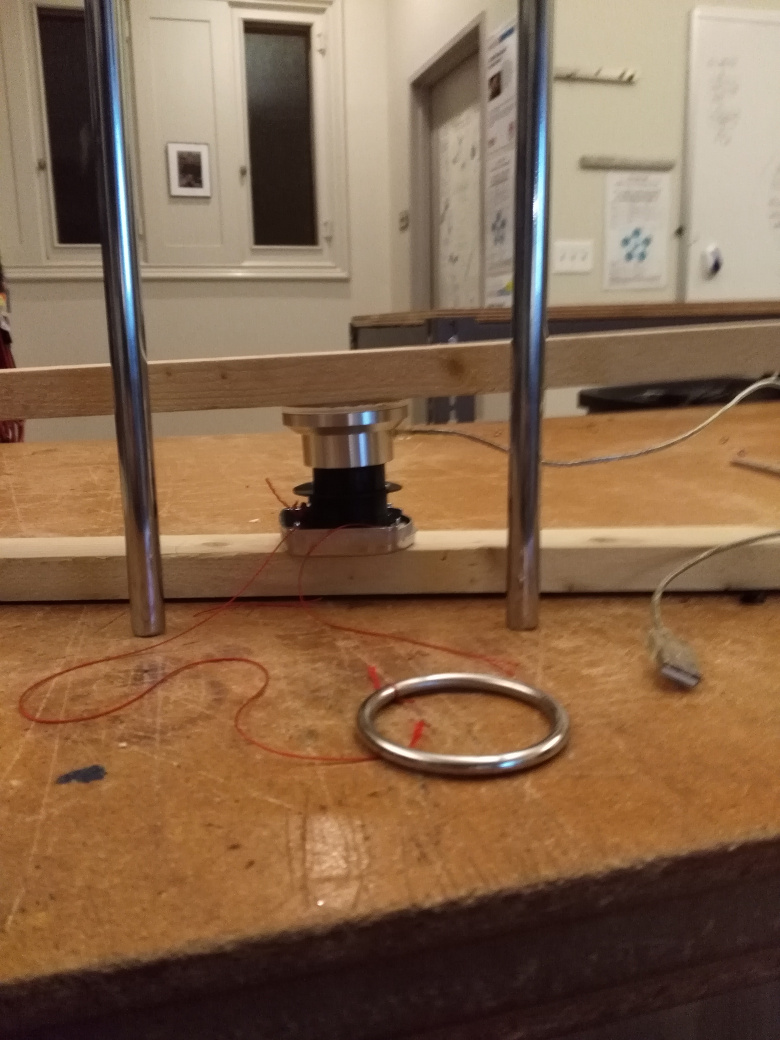
The picture above was a loose layout of what my pullstring prototype could possibly look like, based on illustrations I made. The wood and pipes were found around the lab.
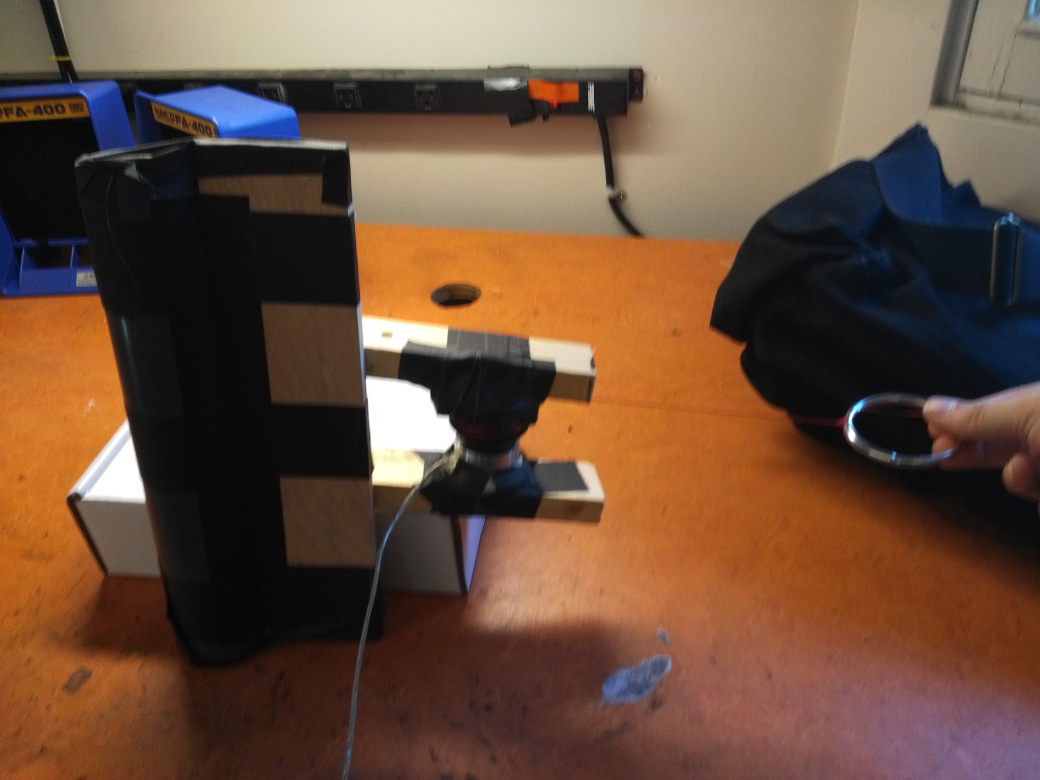
The final proof-of-concept
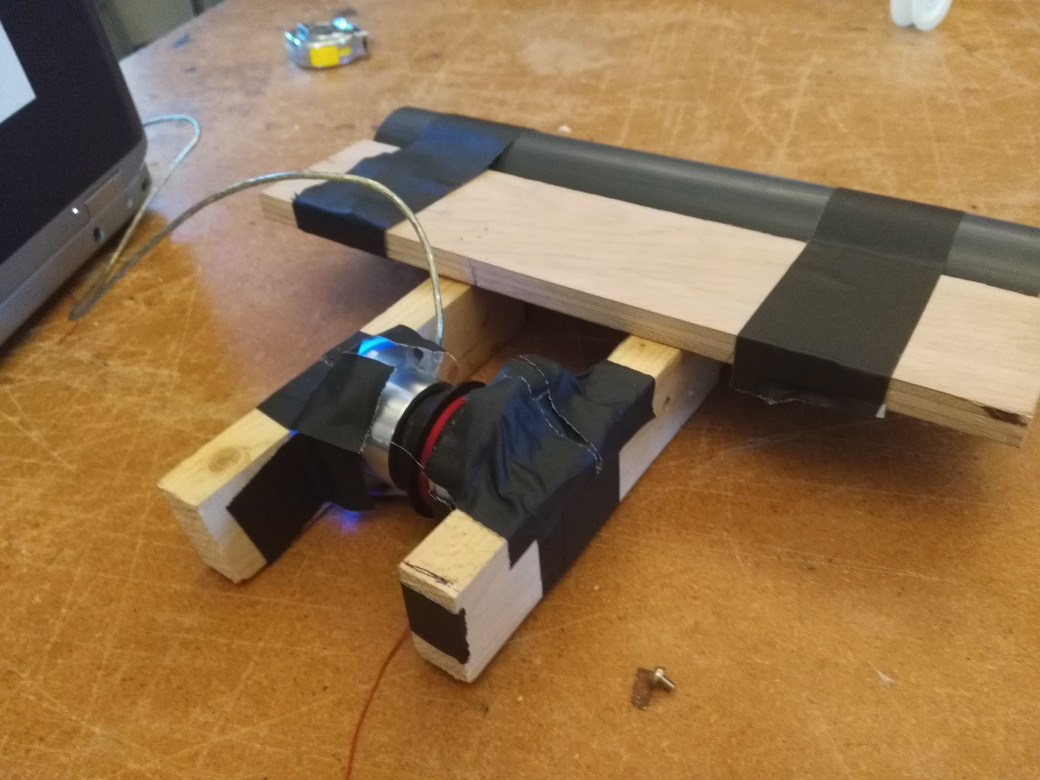
The final proof-of-concept is displayed above. It is made using the 3d printed components I made, scrap wood, gaffers tape, and a pipe for weight.
The rectractable pull string is fully functional, the rotation of the spool translates to the rotary encoder, which can in turn be plugged into a computer and interpreted by a computer program like Sporth.
Sasha and others were unsure how this proof of concept would appear in the final project. The pull string is meant to be played horizontally like a bow. The blurry picture below demonstrates this: